A cylinder that drifts, stalls at the end of stroke, or leaves oil around the rod is not always suffering from a failed seal. But when seals are the cause, a rushed repair can turn a straightforward maintenance task into repeat downtime. Effective cylinder seal replacement starts with confirming the failure mechanism, then matching the seal kit, materials, and assembly practices to the actual operating conditions.
For pneumatic cylinders, leakage often appears as declining force, inconsistent cycle time, or continuous air exhaust at a valve port. In hydraulic service, the symptoms may include external fluid leakage, pressure loss, rod drift, or contamination that accelerates wear throughout the circuit. The repair method differs, but the principle is the same: a new seal cannot compensate for a damaged rod, scored bore, incorrect gland geometry, or air and fluid quality problems upstream.
Diagnose the Failure Before Replacing Seals
Removing a cylinder before diagnosing it can waste valuable production time. Start by identifying where performance is being lost. External leakage at the rod usually points to a worn rod seal, damaged wiper, contaminated environment, rod scoring, or side loading. Internal bypass past the piston seal commonly shows up as reduced output force, a cylinder that cannot hold position, or slow and inconsistent extension under load.
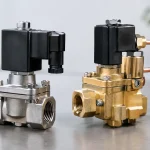
On pneumatic actuators, first isolate valve and tubing problems. A leaking directional valve, loose fitting, cracked tube, or exhausted pressure regulator can look like a cylinder failure. With the cylinder safely isolated, apply regulated air and listen for air passing from one cylinder port to the other. Significant cross-port leakage with the rod held stationary is a strong indication that the piston seal is bypassing.
For hydraulic cylinders, inspect the system before disassembly. Check fluid cleanliness, operating temperature, pressure spikes, and filter condition. A seal that becomes hard, brittle, extruded, or swollen is providing evidence about the root cause. Heat may indicate friction, insufficient lubrication, or a fluid compatibility issue. Extrusion often points to excessive clearance or pressure beyond the seal design. A swollen seal may indicate incompatible hydraulic fluid or chemical exposure.
A useful inspection record should include the cylinder model, bore, rod diameter, stroke, pressure or air supply range, fluid or air quality conditions, cycle rate, load orientation, and visible wear pattern. This information prevents a repeat repair with the same unsuitable seal material.
Choosing the Right Cylinder Seal Replacement Kit
The most dependable approach is to use a seal kit specified for the exact cylinder series and bore size. Seal dimensions can be close enough to appear interchangeable while still producing poor sealing, high breakaway friction, or premature failure. This is especially common with imported cylinders and nonstandard compact actuators, where groove dimensions may not match generic repair-kit assumptions.
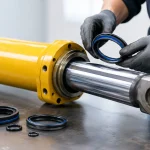
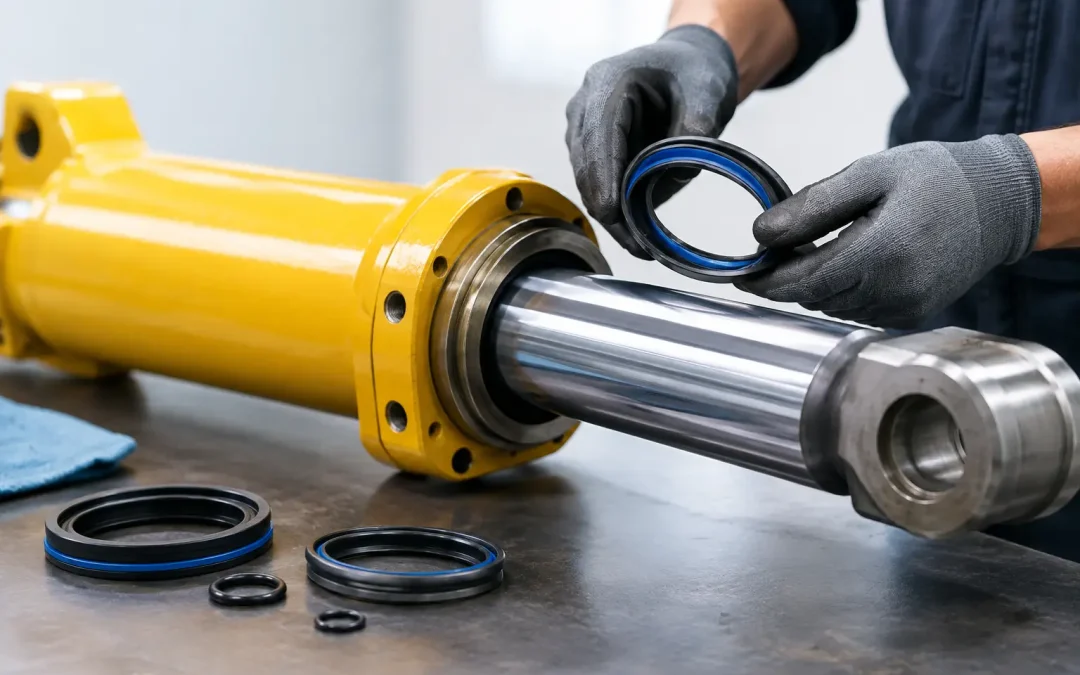
A complete kit may include a piston seal, rod seal, wiper, static O-rings, wear bands, cushion seals, and backup rings. Replace all serviceable seals and wear elements during the same teardown when they are included in the kit. Reusing an old wiper or static O-ring to save a few minutes can create a new leak path immediately after reinstallation.
Material selection depends on the application
Nitrile, commonly called Buna-N or NBR, is widely used for standard pneumatic service and many petroleum-based hydraulic fluids. It offers a practical balance of cost, wear resistance, and general compatibility. Polyurethane is often selected where abrasion resistance and dynamic sealing performance matter, such as high-cycle pneumatic cylinders and demanding hydraulic rod applications.
Fluorocarbon materials may be appropriate where elevated temperature or aggressive chemicals are present, but they are not a universal upgrade. Low-temperature flexibility, friction characteristics, media compatibility, and cost all matter. PTFE-based sealing systems can handle difficult chemical or low-friction requirements, yet they may require precise groove design and installation procedures. The best seal is the one designed around the cylinder, media, temperature, pressure, and duty cycle – not simply the highest-priced material.
For food, pharmaceutical, washdown, or corrosive environments, the seal material is only one part of the specification. Stainless hardware, compatible lubricants, proper wiper design, and reliable air preparation are also required to maintain long-term performance.
Cylinder Seal Replacement Procedure for Reliable Results
Before disassembly, lock out energy sources and relieve all stored air or hydraulic pressure. Support vertical loads and mechanically secure any tooling connected to the rod. A cylinder can retain hazardous energy even after the main supply is shut off, particularly in circuits with trapped pressure, counterbalance valves, or accumulated pneumatic volume.
Clean the exterior thoroughly before opening the cylinder. Dirt introduced during repair can damage a new rod seal or piston seal during the first few cycles. Use a clean work surface and organize components in removal order. For hydraulic cylinders, keep open ports protected to prevent contamination from entering the system.
Remove the gland or end cap using the manufacturer’s recommended method. Avoid gripping a polished rod with pipe wrenches or serrated jaws. Even small rod damage can tear a new seal. Once the rod and piston assembly is removed, inspect the bore, rod, piston, gland, threads, and retaining features under good lighting.
Look for longitudinal scoring, rust pits, chipped plating, sharp edges, distorted grooves, and evidence of metal-to-metal contact. Run a fingernail across suspicious marks. If a scratch catches, it can shorten seal life. Light surface discoloration may be acceptable, but deep scoring or flaking chrome on a rod requires repair or replacement before new seals are installed.
Remove old seals with nonmarring tools whenever possible. Metal picks can gouge aluminum glands and damage seal grooves, creating a leak path that no new kit can correct. Clean all components with a compatible cleaning method, then dry them completely. Do not use shop rags that shed lint into hydraulic or pneumatic assemblies.
Install each seal in the correct orientation. Rod seals, U-cups, lip seals, and wipers are directional components. Pressure-energized lips must face the pressure side, while wipers must face outward to exclude contamination. If a seal must be stretched for installation, use an approved installation cone or sleeve and allow it to return to its natural diameter before assembly. Forcing a seal over sharp threads or keyways can create an invisible cut that fails during startup.
Lubricate seals sparingly with a lubricant compatible with the working media and seal material. Excess grease in pneumatic service can trap debris or interfere with components intended for dry operation. In hydraulic cylinders, use clean system fluid or a specified assembly lubricant rather than an unknown petroleum product.
Reassemble to the manufacturer’s torque and retention requirements. On tie-rod cylinders, tighten fasteners evenly in the recommended pattern. On threaded glands, confirm that locking devices, retaining rings, and set screws are fully engaged. Incorrect preload can distort the bore, loosen during cycling, or damage threads.
Test the Cylinder Before Returning It to Production
A repaired cylinder should be tested at low pressure first, with the machine area clear and the load controlled. Cycle it slowly through the full stroke and check for smooth motion, rod seal leakage, end-cap leakage, abnormal noise, and cushion performance. Increase pressure or load gradually to the normal operating condition.
For pneumatic cylinders, confirm that extension and retraction times match the application requirements. A new seal may increase breakaway friction slightly until it beds in, but sticking, chatter, or major speed imbalance should be investigated. Check flow controls, valve exhaust capacity, tubing size, and load alignment rather than assuming the cylinder is still at fault.
For hydraulic cylinders, verify holding performance and inspect for leakage after the system reaches operating temperature. A cylinder that passes a short bench test may still leak once thermal expansion, pressure cycling, and side loads enter the picture. Document the repair date, seal kit used, observed damage, and likely failure cause for future maintenance planning.
Prevent the Next Seal Failure
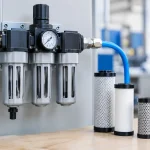
Most repeat seal failures originate outside the cylinder. Side loading from poor alignment bends the rod microscopically under load and accelerates rod seal wear. Contaminated compressed air damages pneumatic seals and dries out lubricated components. Water, poor filtration, and incompatible cleaners can degrade materials long before a visible leak develops.
Review the mounting style as well. Pivot mounts tolerate angular movement better than rigid mounts, while rigid mounting requires accurate alignment through the full stroke. If the cylinder drives a guided load, use external guides or a guided actuator so the rod is not carrying side force. Selecting the correct bore, rod diameter, cushioning option, and mounting arrangement often does more for service life than changing to a more expensive seal material.
When a production-critical actuator needs repair, treat the removed seals as diagnostic evidence. Their condition can reveal whether the operation needs cleaner air, better alignment, a higher-temperature material, improved cushioning, or a more suitable cylinder design. That disciplined approach turns cylinder seal replacement from a recurring repair into a measurable improvement in machine uptime.